Virginia Beach portrait and lifestyle photographer specializing in comfortable portraits and candids
The
Alisandra Photography Blog
SEARCH:
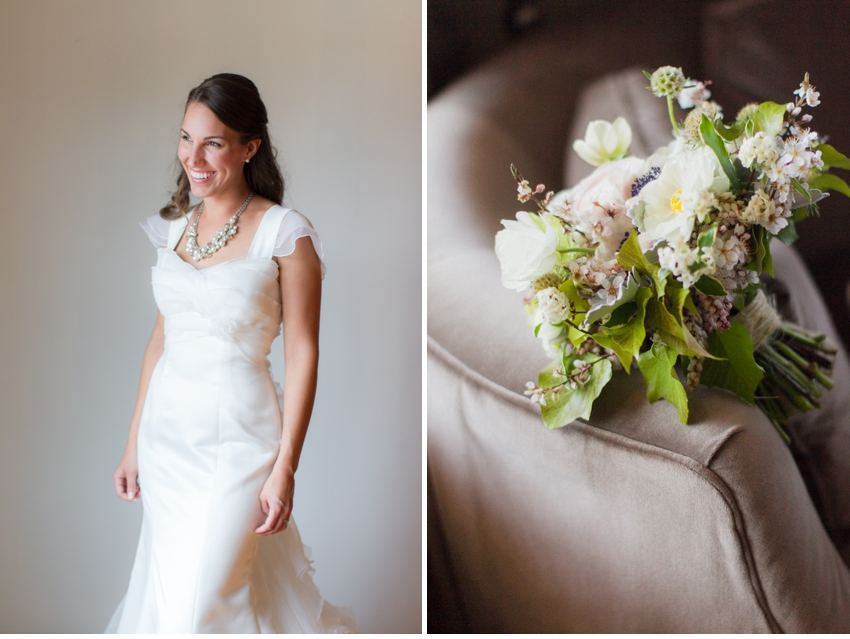
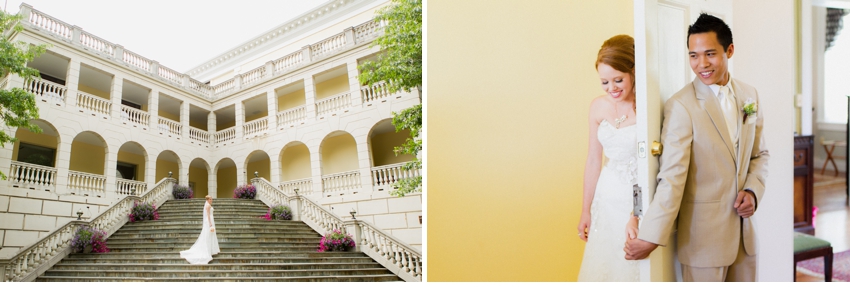
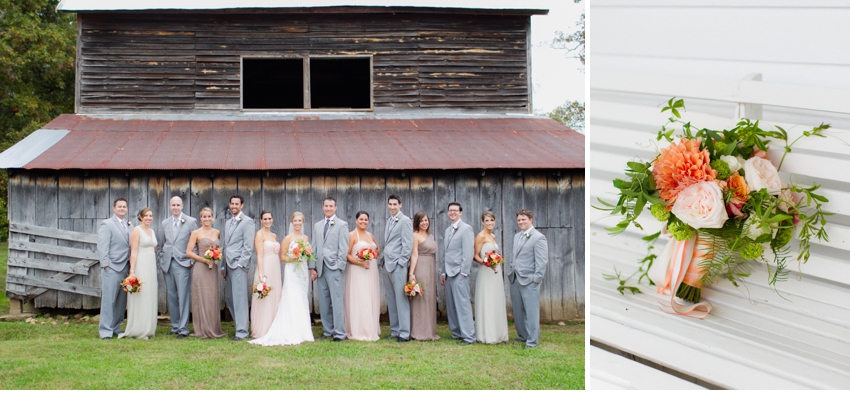
I’m in the process of choosing photos for my website, just to give it a little update. This year, for the first time, I feel like I’m really settling into my style. I’ve gone back to previous weddings, re-edited and tweeked some photos and piled them all in a folder. But how do you get from 40,000 images, to your top 30 or so? I don’t have a concrete solid formula, but I do have a few tips if you’re in this place as well!

Before you dive in, spend some time thinking about your ideal clients. Who are they, what do they want from their photographer? And then consider the times during the year when you really felt alive while you were working. These things will help you identify your work that represents who you want to me as an artist. If you don’t already have them, write down 3 or 4 words you want your portfolio to say. Classic? Fun? Bright? Vintage? Unique? Once you have an idea of where you want your portfolio to take you, on to the next steps.

1. Choose your top photos. Not a particular number, but 200 or less will make the rest of the process more bearable. Narrow your work down to a good, thick group of images that, on first glance, you wanted to “keep.” This is no time to be over analytical. Just choose all of your favorites. Go through each shoot and just start setting them aside in a folder. And, at this point, don’t get caught up on content.
2. Print these photos. I know, I know. It takes a little bit of investment. But actually SEEING these photos in print helps you see patterns in composition, color, style… but it also helps you identify flaws such as duplicates in posing, distractions in the photos…things that shouldn’t go into your best collection of work. You don’t have to print 8 x 10’s – simple 2×3’s will work just fine! Most printers have an option to create contact sheets.
3. Host a portfolio review. Invite a few friends who are also going through this process. You’ll need to bring along your stack of printed photos, a pen, and of course some snacks and drinks – this could take a while… Take turns and lay out your photos. Share your brand words and lay out the ground rules and don’t feel like you need to defend your work. These people are helping you. Anyway, allow the rest of the party to mark the back of the cards: keep, discard, maybe. Or, rate them: 1-5. Hopefully, by the end, you’ll have less than 50 or so images to either keep or narrow further. Also, figure out if you need to ADD anything to what you’ve chosen. Need more candids? Less details?
4. Tweek your images. After the review, go back and edit all of the images again. Retouch, color correct, and choose an order that makes sense! So what are you waiting for? Stay tuned for my update in the coming weeks!

Leave a Reply Cancel reply
WEDDING PHOTOGRAPHY
VIRGINIA & WORLDWIDE
@alisandraphoto #alisandraphoto
FOLLOW ALONG
Get a glance into my life with #MyHusbandChad, our travel adventures by the sea, and the love stories I get to photograph on Instagram.
Love love love this post! So helpful!!
this is such a helpful post and a great idea! thanks for sharing! 🙂